Molding Sawdust _ Test 1
Reusing sawdust has been an idea for a long time, and I've been storing sawdust from my woodworks for several years, but it is not a lot. Two weeks ago, my neighbors cut two big trees, a maritime pine and an oak so I asked if I could collect sawdust. I did and I made it dry for almost 5 days, before I packed it into airtight containers.
Now that I have enough sawdust I can begin to experiment making a composite material out of sawdust and biological glue. In my first test I'm experimenting with casein glue : a glue made with milk proteins, casein. First of all, I have to think about a system to mold the composite material obtained.
Making molds
I used Fusion 360 to modelize my molds in 3D. I modelized several shapes in order to gather samples of several thicknesses and two more complex forms to test.
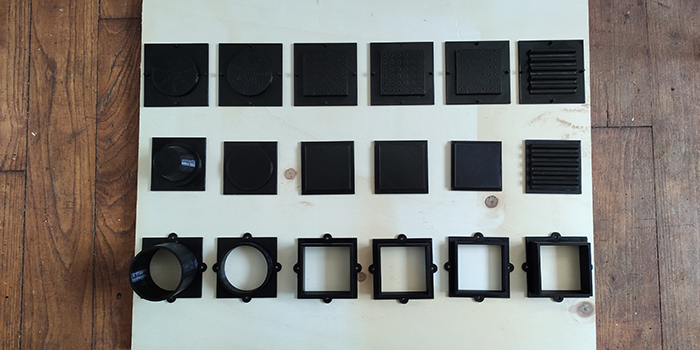
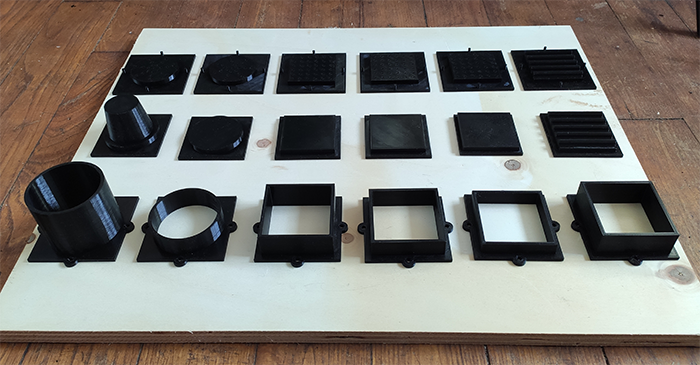
The molds are composed of three parts, the base, containing holes to evacuate water when pressing, a body varying in height, and a press.
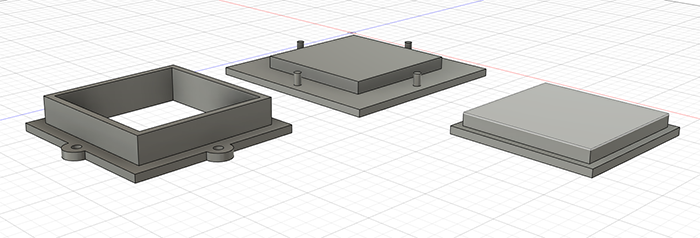
50x50mm squares, 3mm, 5mm, 10mm height molds + press
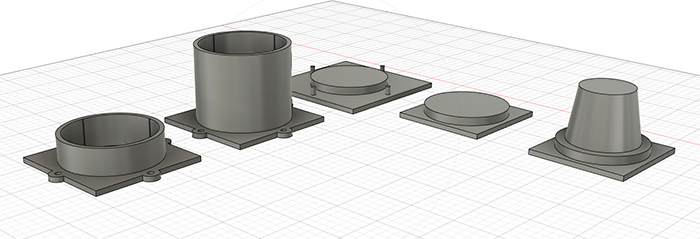
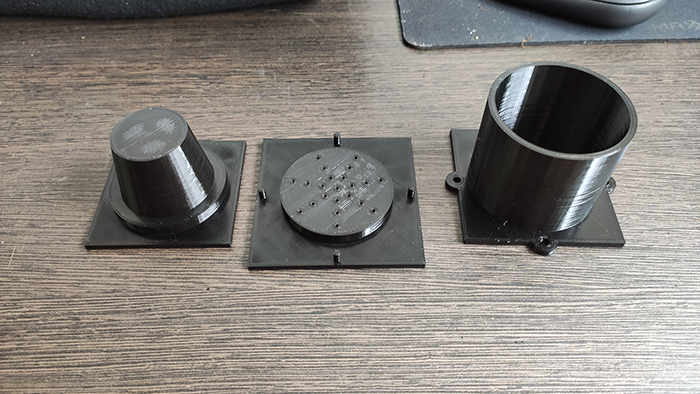
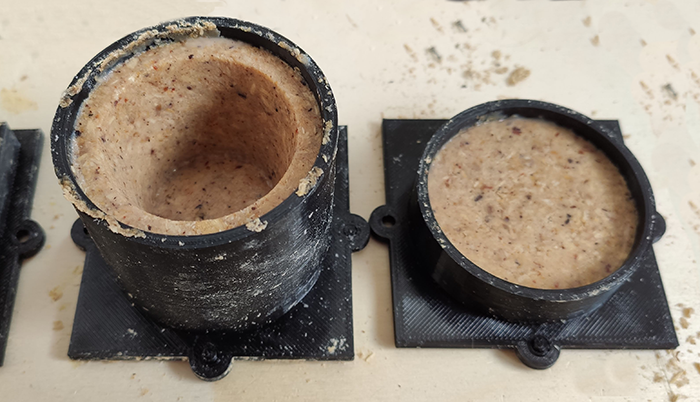
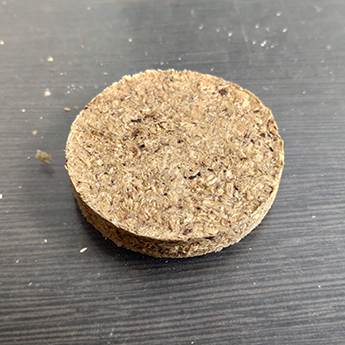
50mm diameter circle 5mm, 40mm height + pot press

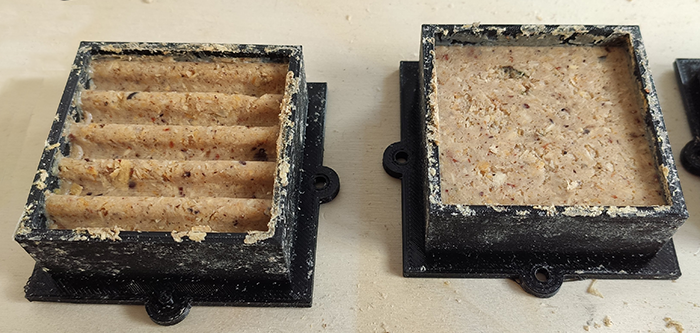
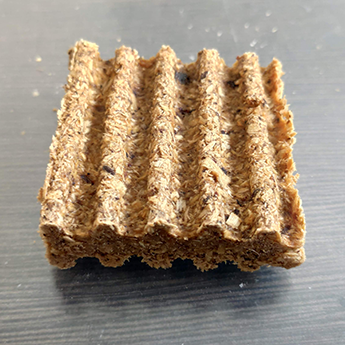
50x50mm wavy mold
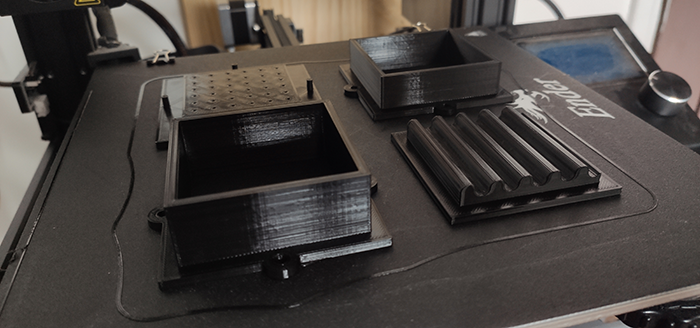
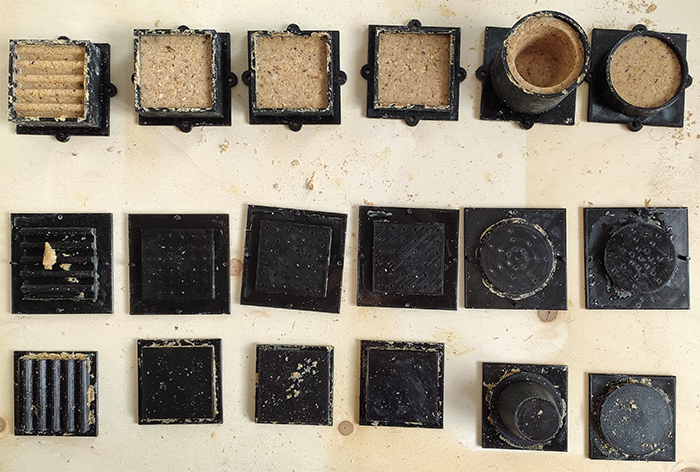
I used Cura to slice my SVG files, 1.75 mm PLA Ice filament, 0.2mm and 20% infill. All the printed parts are below :
Making casein glue
A lot of recipes exist for casein glue, I chose one which seems easy to prepare. The link I used for the casein glue recipe is at the end of this section.
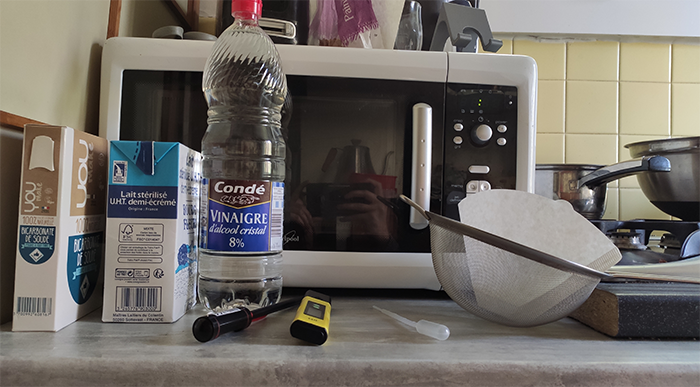
Ingredients for 190g of casein glue (*in my experience, quantities were not specified in the recipes I found):
- 1L of milk
- Vinegar
- Baking soda
Tools :
- Thermometer
- pH meter
- Containers
- Fine strainer
Casein glue in simplified steps :
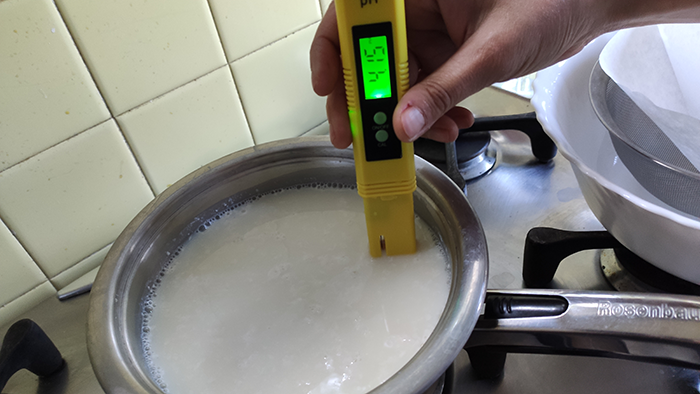
- First step is to heat the milk up to 40/50 degrees
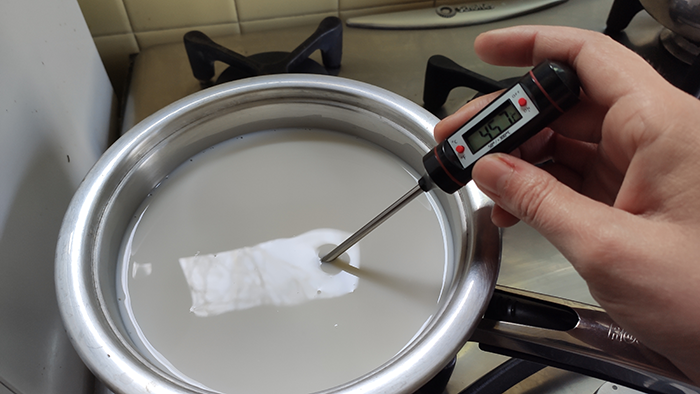
- Second, stop heating the milk and add vinegar in order to obtain a pH of 4.6. (I did not succeed in this part, I added warm milk after mesuring the pH to increase it. So I don't know if it breaks the process somehow.)
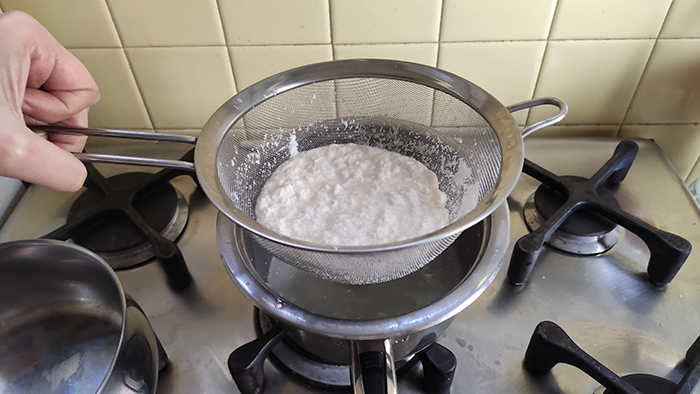
- When the vinegar is added the casein precipitates and we have to separate it from the rest of the milk.
Here is the schematics of the whole process and the source I used.
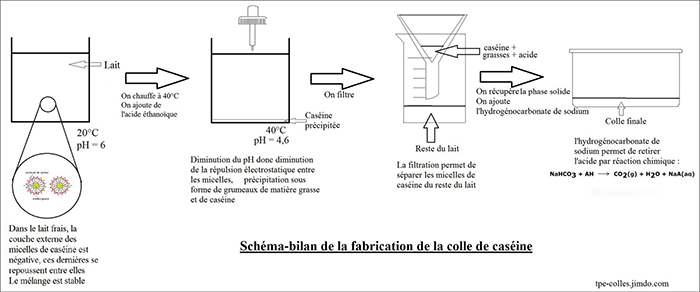
source : https://tpe-colles.jimdofree.com/la-fabrication-d-une-colle/
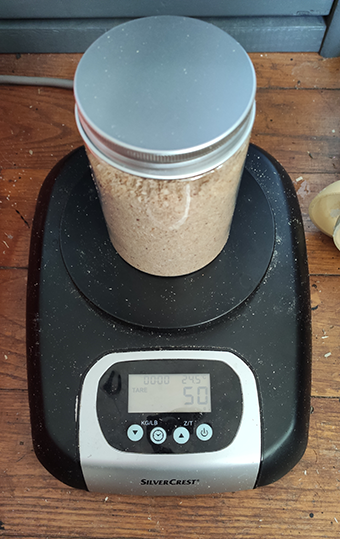
Preparing sawdust
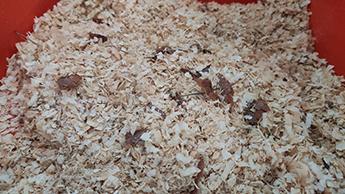
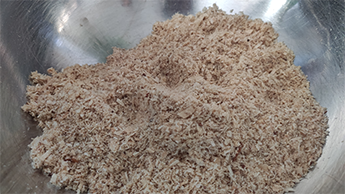
The maritime pine sawdust I collected seems too big to be mold so I used a mixer to make it finer.
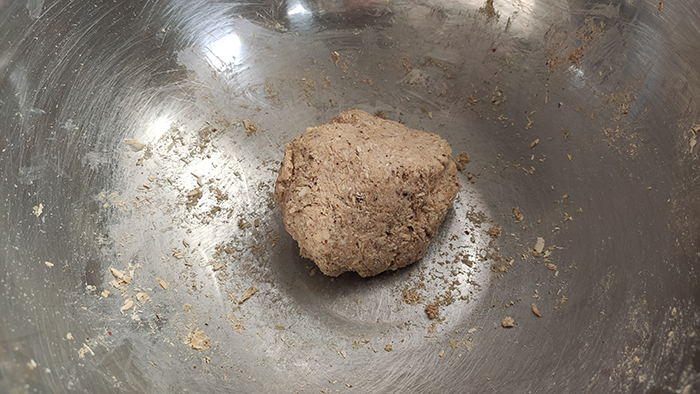
Mixing casein glue and sawdust
For this first test mixing the casein glue to the sawdust, i don't know which quantities of each I should use.
50g of sawdust + 190g of casein glue = a semi compact dough
It has the feeling of modeling clay, with less flexibility. More flexibility comes as the glue impregnates sawdust.
Molding
My hands were dirty : I don't have a lot of images from this process, it is something I will organize for my next experiment.
It is better to put the dough little by litlle, beginnning by all the corners in the mold : we want to avoid holes or air bubbles. when the mold is filled we can add the press part, and press by hand. At this point we can fill if the mold is filled sufficiently or not. If there's not enough, wen can add dough in the mold. If there's too much we can take some dough back and try again to close the mold.
Next step is to use clamps or whatever is strong enough to press our molds. I don't think my clamps are strong enough, but it's all I have, that and a piece of tree truck, that I hope will do the trick.
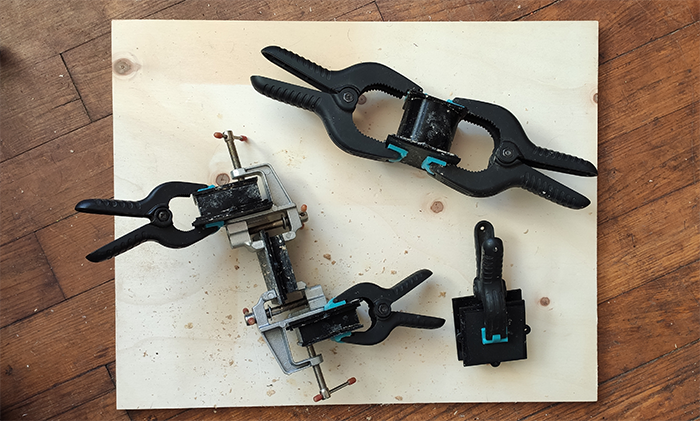

Let's press for a moment. I will open the molds in 24h to see how it is going.
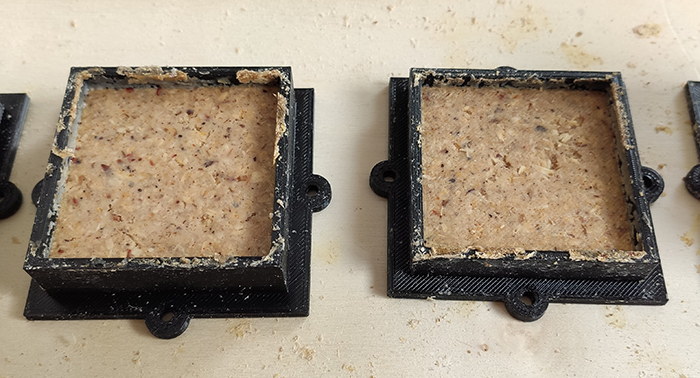
Opening the molds 24 Hours later
First note : the clips on the base part of the mold is not helping when it comes to demold our shapes, they're hard to pull off, or are breaking.
The composite dough isn't dry yet, but opening the mold now will hepl to make it dry properly.
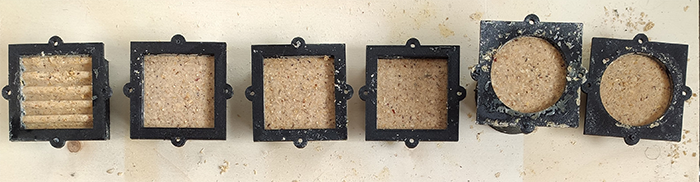
Demolding was almost easy, but parts are breaking when demolding, one the wavy form mostly. Is there something to apply befor placing the dough in the mold that could help to demold them ? Should it dry longer in the mold ?
Let's let this dry for a moment again.
De-molding 24 Hours later
 To dry the pieces out of the molds, I placed them on a radiator in order to make them dry faster.
 |
 |
|---|---|
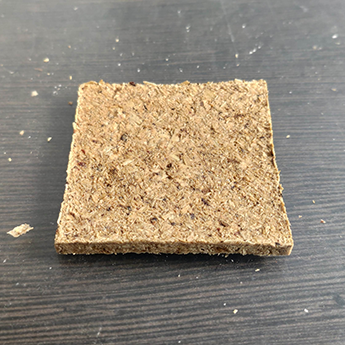
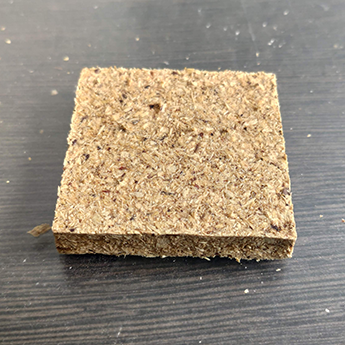
| 3mm - maritime pine 5x5mm | 5mm - maritime pine 5x5mm |
 |
 |
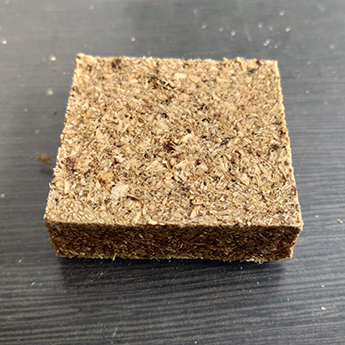
| 10mm - martime pine 5x5mm | 10 mm - martime pine 5x5mm |
 |
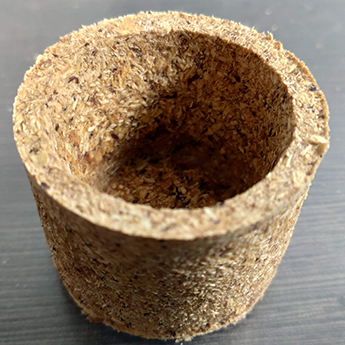 |
| 5mm - maritime pine o5mm | 5mm - maritime pine o5mm x 40mm |